Before installing Android Studio, make sure you have JDK 6 or higher installed—the JRE alone is not sufficient.
When developing for Android 5.0 (API level 21) and higher, you will need to install JDK 7.
☛
To check if you have the correct version of the JDK installed, open a terminal and type javac -version.
☛
If the JDK is not available or the version is lower than version 6, download the Java SE Development Kit 7
Download here
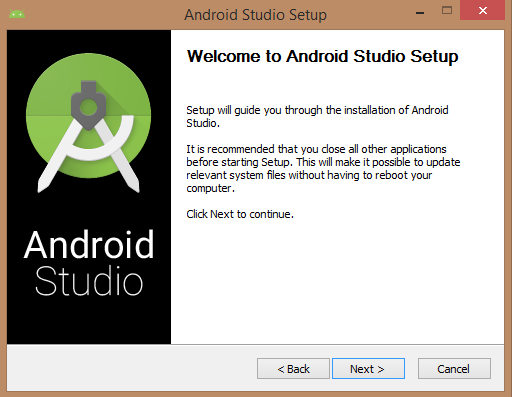
How to Setup Android Studio :-
☛
For Microsoft windows OS :-
First of all download official Android Studio IDE (Android Studio & SDK Tools)
Download here
you will find "android-studio-bundle-141.2422023-windows.exe" file after download intall it as per
android studio wizard guideline.
On some Windows systems, the launcher script does not find where the JDK is installed. If you encounter this problem,
you need to set an environment variable indicating the correct location.
Select Start menu > Computer > System Properties > Advanced System Properties. Then open Advanced tab > Environment
Variables and add a new system variable JAVA_HOME that points to your JDK folder, for example
C:\Program Files\Java\jdk1.7.0_21.
Launch the .dmg file you downloaded.
Drag and drop Android Studio into the Applications folder.
Open Android Studio and follow the setup wizard to install any necessary SDK tools.
If you need to use the Android SDK tools from a command line, you can access them at:
/Users//Library/Android/sdk/
Unpack the .zip file you downloaded to an appropriate location for your applications.
To launch Android Studio, open a terminal, navigate to the android-studio/bin/ directory, and execute studio.sh.
You may want to add android-studio/bin/ to your PATH environmental variable so that you can start Android Studio from any directory.
If the SDK is not already installed, follow the setup wizard to install the SDK and any necessary SDK tools.
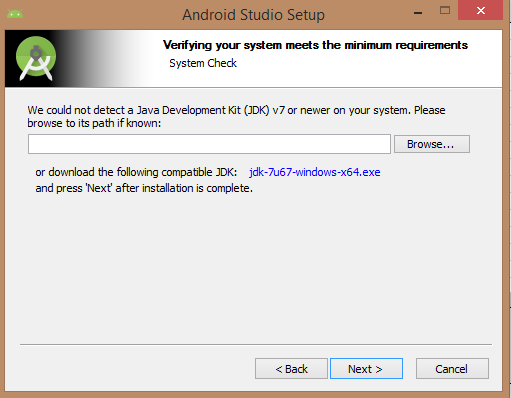
Now your computer will be asked to installed Java Development Kit(JDK). To install Java JDK6 or later version
Download here
or click on link provided by Android Studio itself on the setup window screen.
If found any error again check whether you have define Environment variable
Click here actually JDK need to define environment variable.
☛
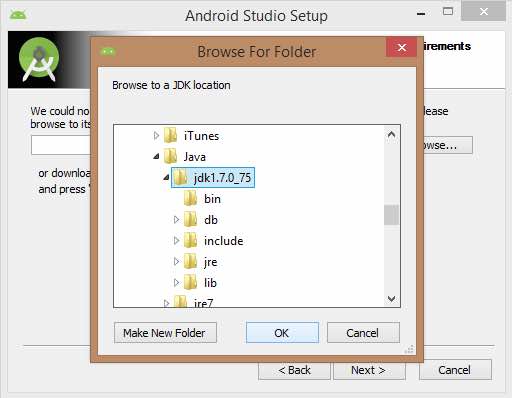
Ok after download Java JDK fill it's path in android studio installer as shown in picture below. Click browse choose folder
in which JDK installed say Java/jdk1.7.0_75
☛
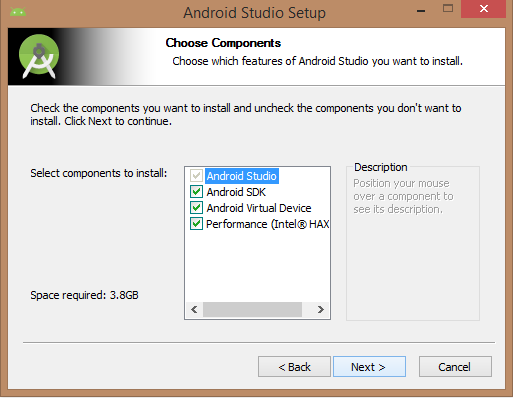
Next check whether 3.8GB free space in your c:\ drive & select which components need to be installed (we recomend install all)
☛
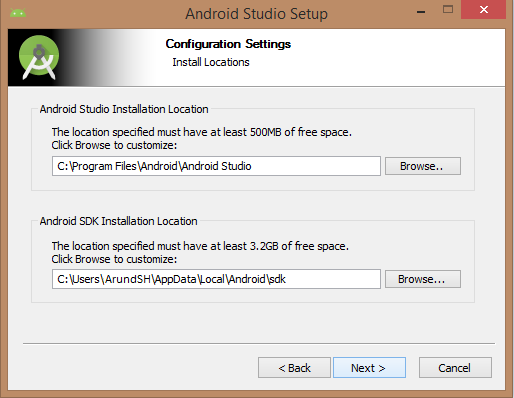
Next select install location (Click only if you have 500MB free ram otherwise your system would be hanged).
☛
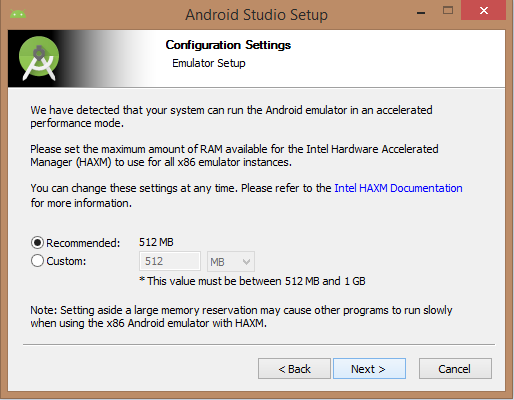
Next choose minimum ram space for for Android emulator by default it is 512MB.
☛
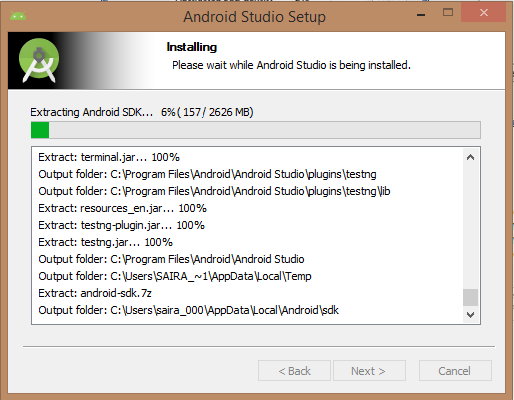
Next installer extract SDK packages into our local machine and require 2626MB Hard disk space
it would take a some time to finish the process wait for complete the process.
☛
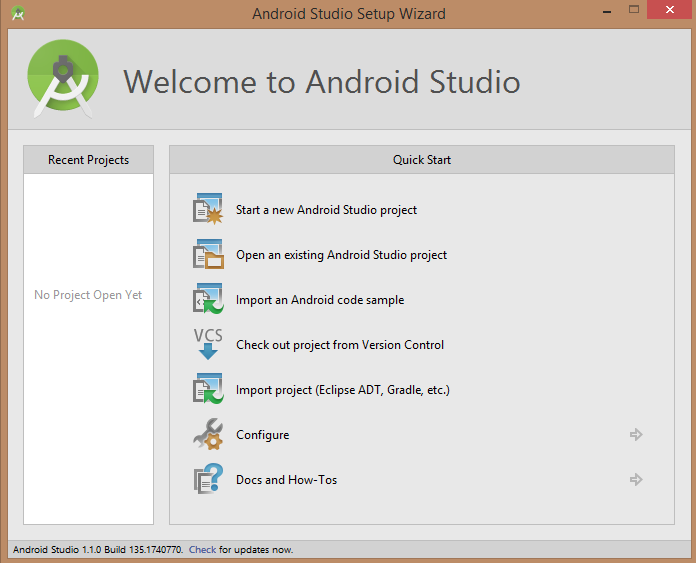
Next click finish button, Congratz you have installed Android Studio successfuly and it will open Android Studio
as shown below
☛
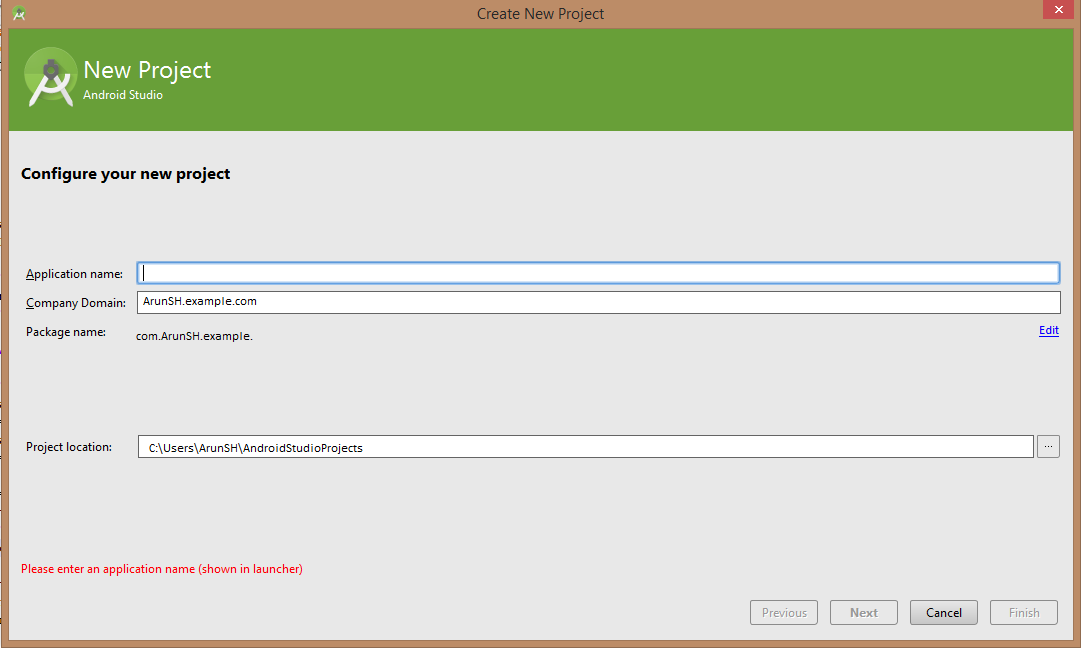
Next to develop Android application, select Start a new Android Studio project.
Give application name, company domain, project location.
☛
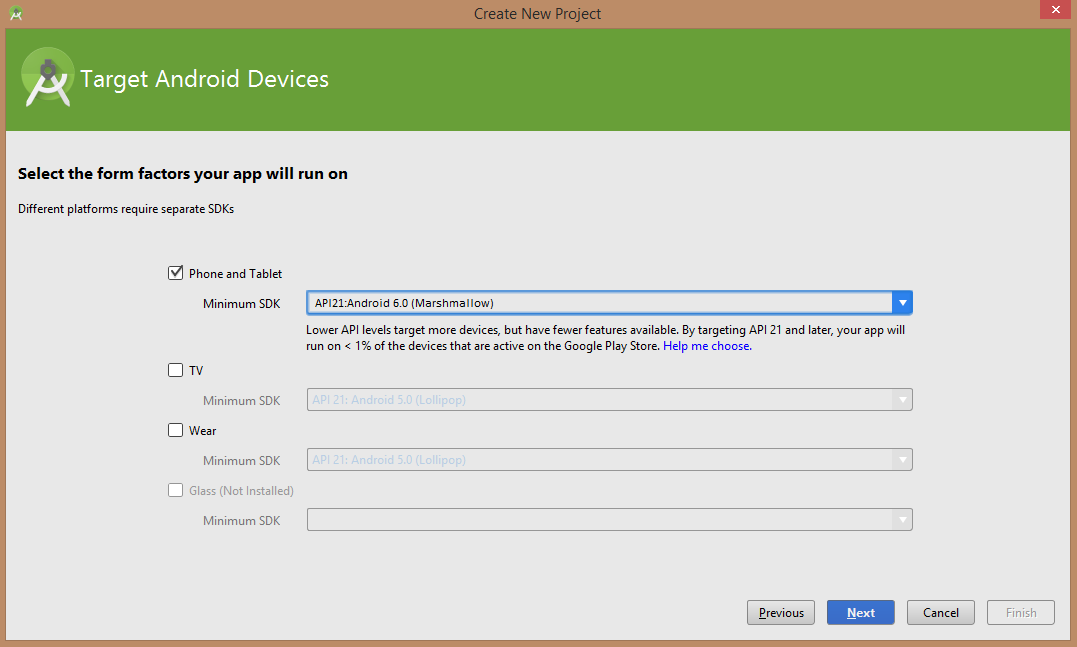
Next select Minimum SDK say Android 6.0 (Marshmallow) click next
☛
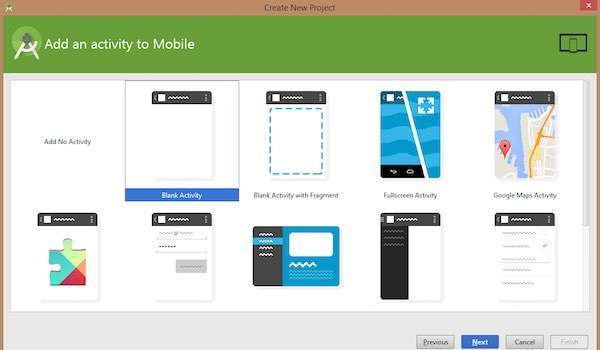
Next select a activity to mobile (it's layout) say blank activity, click next.
☛
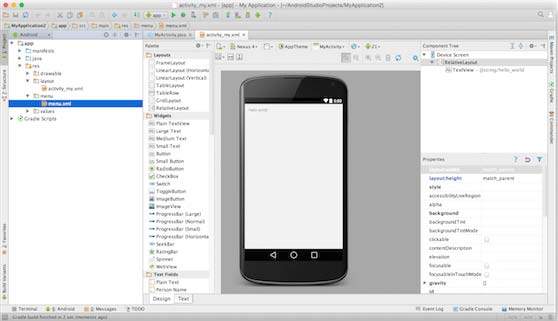
Finally you will see your code window with default page with Hellow World screen.